AI manga character consistency: lessons from building Konyomi
Practical lessons from building Konyomi: separate character traits from outfits, resolve aliases, review references and plan readable manga panels.
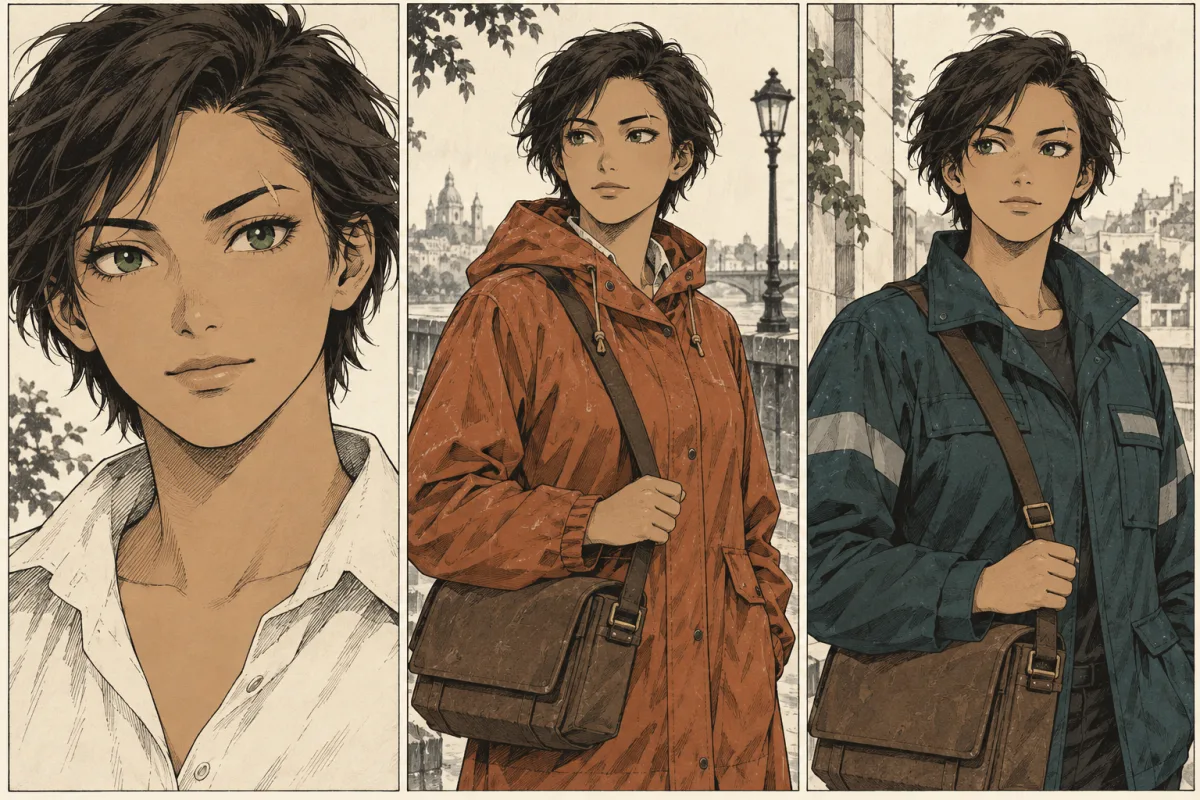
A manga character needs to remain recognizable when the camera, expression, outfit and location change. Building Konyomi taught us how many small decisions sit behind that goal.
What our development tests showed
Our development tests exposed problems such as blended outfits, missing identifying marks and references that introduced a new weapon. Some changes improved individual concepts and reference views. Those results do not establish reliable continuity across a finished chapter.
These are the lessons we would use when planning a manga with an artist or an AI tool.
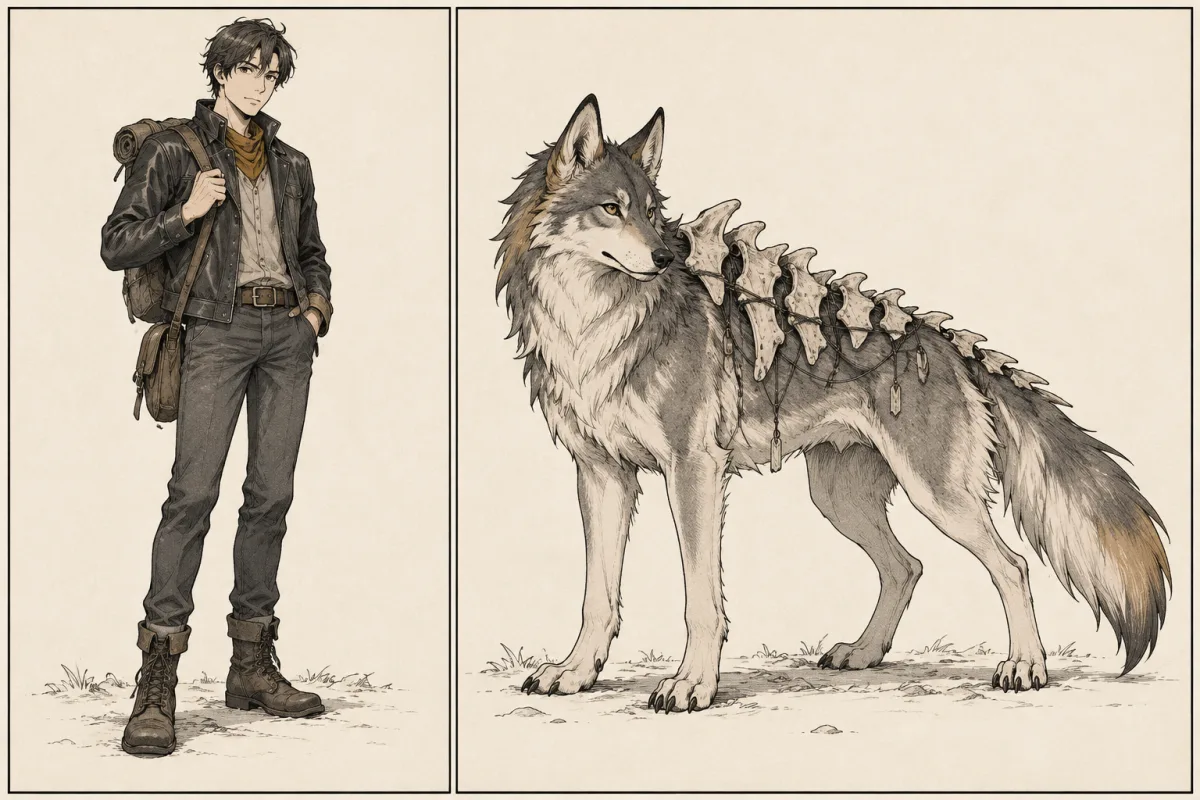
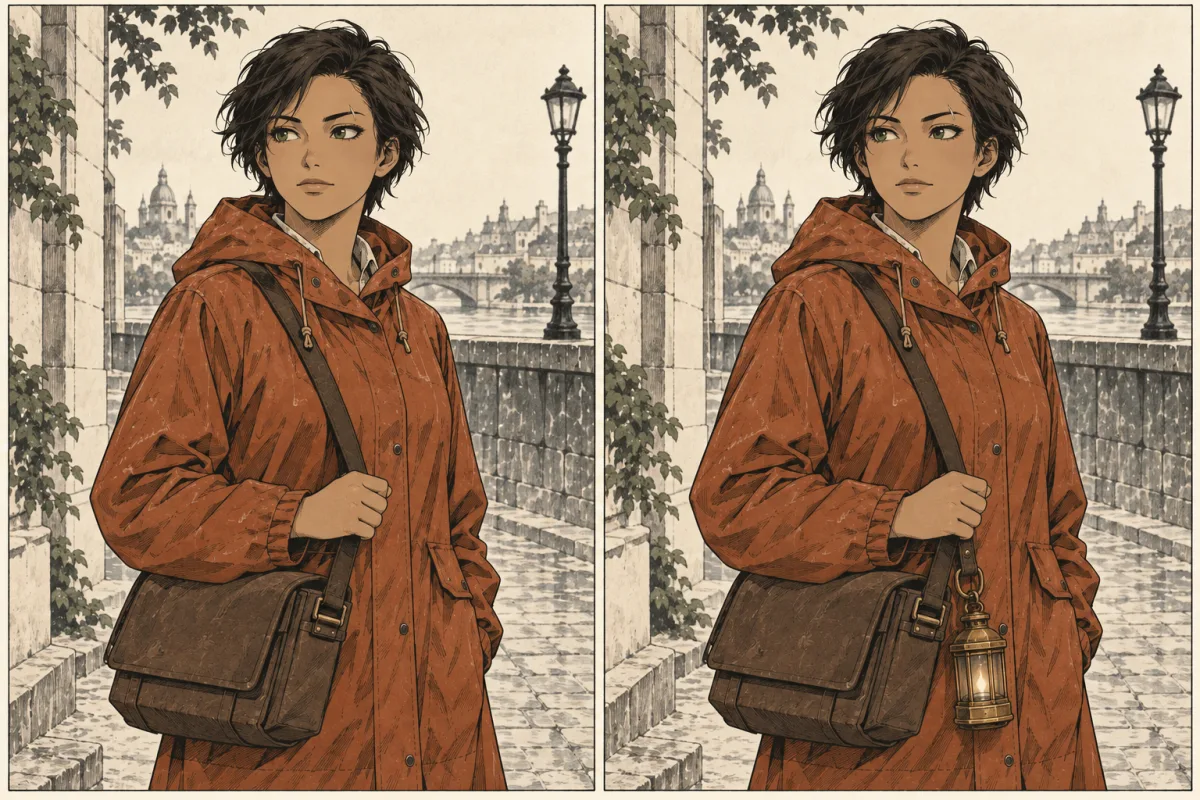
The original AI-generated illustrations below were made for this article. They illustrate the lessons with invented subjects and deliberate comparisons. They are not screenshots of our tests or samples from Konyomi's public generation workflow.
1. Separate the character from the outfit
A manuscript can describe one character in several scenes: wearing hospital clothing, putting on armor, then carrying a weapon. If you collect every appearance detail into one description, the resulting picture can blend those scenes.
We encountered that problem in a test story. A character's concept used tactical clothing and a sword when we were trying to establish an earlier appearance. Selecting appearance details from an entire chapter left too much room for interpretation.
We changed the preparation to distinguish lasting traits from the character's first look. A later test concept showed the expected hair, eyes and identifying marks with one outfit. Other identity and appearance questions still needed review.
For your own character sheet, keep separate fields:
- Permanent traits: age range, build, hair, eyes and identifying marks.
- Current look: clothing, hairstyle changes, injuries and carried equipment for this scene.
- Panel instructions: pose, expression, action and camera angle.
Example: “Short white hair, amber eyes and red markings on the neck” describes identity. “Bronze armor with an empty belt” describes a look. “Turns toward the doorway” describes the panel.
Record those decisions in the free character continuity sheet. It organizes supplied images and notes. It does not generate references or guarantee consistent artwork.
2. Resolve names before drawing the cast
A story might call someone “the young woman” before introducing her name. Later it might use a title, nickname or another spelling. Those mentions can accidentally become separate characters during preparation.
Our test runs showed this clearly. Some runs joined a descriptive mention to the named character; another kept them separate. A spelling difference in a character sheet also separated details that belonged together. The resulting visual description then lacked important traits.
Before generating artwork, list the names and descriptions that refer to the same person. Check them against the story. Two people can share a name, so a name match alone still needs context.
A small cast table is enough to start:
| Canonical name | Other mentions | Details to preserve |
|---|---|---|
| Nera | the courier; Captain Nera | Short dark hair, scar above the left eyebrow |
| Olan | the station keeper | Round glasses, gray coat |
Nera and Olan are invented examples for this article. The purpose is to make identity decisions visible before an image is produced.
3. Make missing design decisions deliberately
A model can fill a gap with something plausible that your story never established.
In an early image test, a character gained an unsupported weapon. In another test, a sparsely described military character appeared in a martial-arts jacket. Including the character's role in a later profile produced a more suitable uniform in that test.
Another failure came from treating a creature like a person. Our prompt asked for an upright person, and the reference became a human even though the source described an animal-like creature. Revising the character form and prompt produced a creature in the next tested concept and reference. It still stood on two legs, so the body shape remained wrong.
Before you write an art brief, decide:
- What kind of subject is this: a person, animal or creature?
- Which visual details come from the manuscript?
- Which details have you chosen to complete the design?
- Which props belong in this particular scene?
Keep creator decisions separate from source facts. If the manuscript never describes a jacket, choose one consciously and record it. Otherwise, an accidental choice can become the reference for later panels.
4. Review reference images as new artwork
Providing a reference image gives the model useful visual information. The output still needs checking.
In our development tests, one reference matched a character concept's main features but introduced a sword that the concept did not show. That was a continuity problem even though the image request completed successfully.
Compare a reference against a short checklist:
- Does the face remain recognizable?
- Are identifying marks present and correctly placed?
- Does the clothing match the intended look?
- Has a prop been added, removed or changed?
- Does the body shape match the subject?
Review the front, profile and back views separately when you need them. A successful front view does not prove that the other views will work.
The illustrations in our manga art styles guide are independently generated editorial examples. Their faces and framing vary. They help compare rendering choices, but they are not a character-consistency benchmark.
5. Plan dialogue and page flow before committing to the art
A single image gives you no evidence that a page will read well. Readers also need to know what happens first, who is speaking and where to look next.
While building the creator tools, we made lettering and page geometry explicit. The dialogue preview measures text wrapping in the browser. Its result changes with bubble dimensions, padding, font size and the displayed font.
That makes a useful planning habit: test an ordinary conversation panel before you commit to a detailed art treatment. Check it at the size readers will actually see.
Use the manga script builder to describe each panel's action and dialogue. Try the page in the panel layout maker, then check a long reply in the dialogue-fit preview.
If the reply crowds the art, try shortening it, splitting the exchange or changing the panel allocation. Shrinking the text should not be your automatic first response.
6. Check story fidelity separately from technical success
An image can have the right dimensions, open correctly and still tell the wrong story.
Our tests repeatedly made this distinction useful. File validation passed for images that contained unwanted lettering, an invented weapon or the wrong kind of subject. Automated tests with simulated model responses also helped verify workflow behavior, but could not judge the actual provider's artwork.
Use two review passes:
- Technical review: Does the file open? Are its dimensions and resolution suitable for the intended use?
- Story review: Is the correct character doing the correct action, in the correct look, with the intended props and expression?
The page-size and resolution checker helps with the first pass. The script and continuity sheet help you perform the second. You still need to inspect the artwork.
A practical starting workflow
For a first manga chapter, start with a small cast and one short scene.
Write the scene panel by panel. Give each recurring character a stable identity and a scene-specific look. Choose an art treatment, record its main rules and test a page with both action and dialogue. Compare the result with your script before expanding the chapter.
Save the script, character sheet and reference choices so revisions have a clear starting point. Change one decision at a time when investigating a problem; changing the outfit, pose and art treatment together makes it harder to identify the cause.
Konyomi's public manga creation remains in early access. These lessons come from development experiments and the browser-only planning tools available today. They describe what we learned and what creators can check themselves. They are not a promise of flawless chapter generation.
Common questions
Why do AI manga characters change between panels?
Different prompts, conflicting outfits, unresolved names and invented details can change a character's appearance. Separate permanent traits, scene-specific looks and panel instructions, then review each result against the character sheet.
Does a reference image guarantee character consistency?
No. Our development tests included a reference that introduced an extra prop. Check identifying marks, clothing, carried objects and body shape in each view. These experiments do not establish reliable continuity across a finished chapter.
Are these illustrations actual Konyomi test results?
No. They are original AI-generated editorial comparisons made for this article. The added lantern is deliberate, and the person and creature are invented subjects. Konyomi's public manga creation remains in early access.
Konyomi turns a written story into manga. It opens soon.